

This year I decided to bite the bullet (not literally thank goodness) and make a craft before Christmas. This was a great craft for a few reasons. 1. I was able to have craft time with my childhood friend, Kara, from Mine for the Making, and 2. if you visit her blog you will see how amazing she is and why I was so lucky to craft with her. 3. We got to watch our kids play together, which was so funny at times we were almost in tears from laughing!
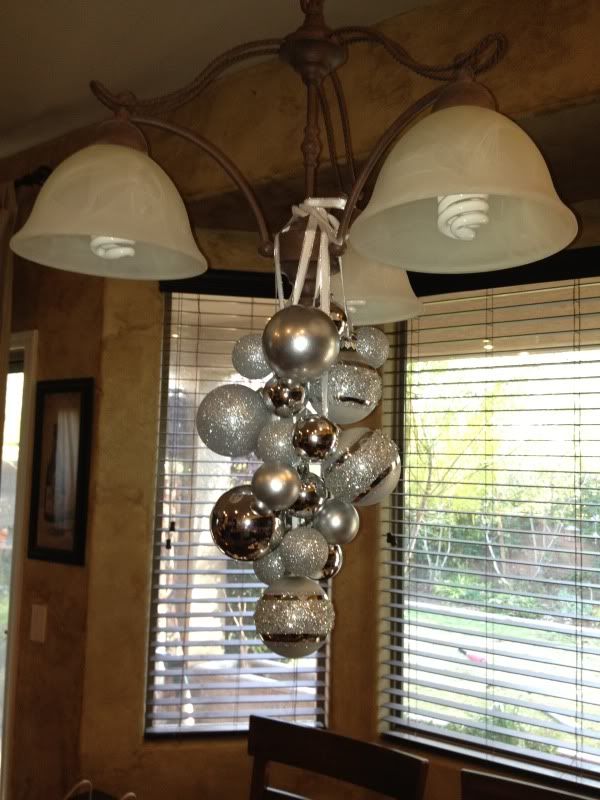
My adorable craft was an ornament chandelier. I saw this idea on Pinterest (where else!) and it was originally posted from Bower Power. I chose to make this decoration because it looks stunning, but is so easy and inexpensive to make. It is pretty for Christmas and festive for New Year's. For my chandelier, I used 21 ornament balls and less than 1 roll of 9ft ribbon. You may want to use more or less of each depending on your ceiling height and how close the chandelier will be to your table, if it is hanging over a table. I bought 2 sets of shatterproof ornaments in small and large size from Walmart. They were each $4.95. The ones that have the design on them are glass and were $6 from Target. Since I only used half of the ornaments from each set from Walmart and I already had the ribbon, I say this chandelier cost me $10.95.
Here's how I made mine:
- Cut 4 pieces of ribbon. The first piece being 19in., the second piece 16in., the third piece 13in., and the fourth piece 9in. These can be longer or shorter depending on how long you want yours.
- Fold each ribbon in half and slide the ornaments down one side of the ribbon.
- I don't know that it matters, but I alternated the big and small ornaments and started with 4 ornaments on each ribbon.
- Then, I held the ribbons up all together to see how they looked and I added a few more ornaments wherever there were naked spots.
- When I was satisfied with the way it looked, I tied each ribbon to my light fixture.
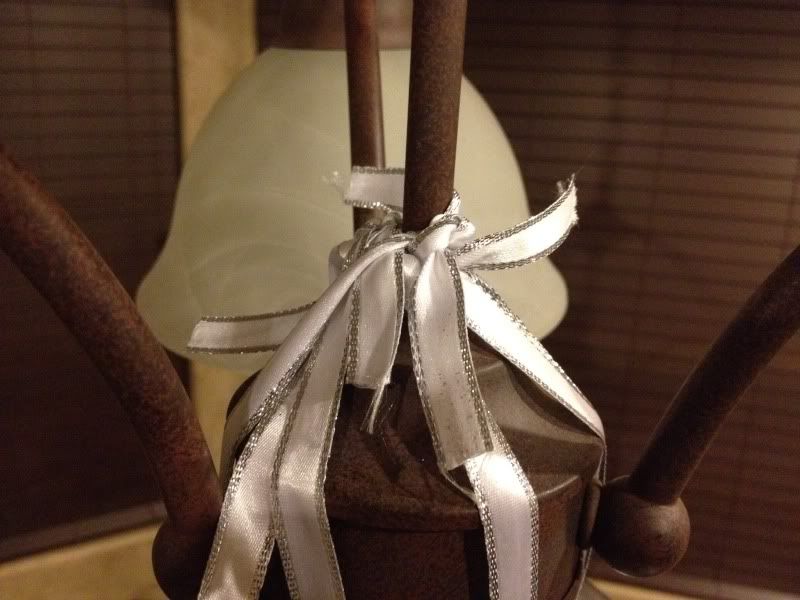
- Creating this beautiful little decoration:
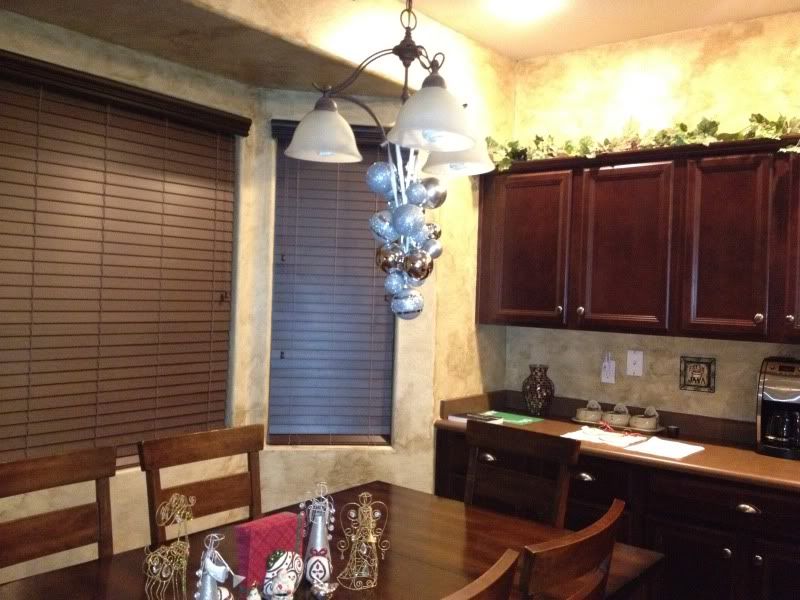
The best part about this project is that you can do any style or color ornament to match your holiday decor. In fact, as soon as I put mine up I decided I'm going to take it back down and add red ornaments. Well, I will take it down after New Year's and add the red ornaments in time for next Christmas!
Thank you, Kara, for hosting our wonderful craft day and helping me!
Merry Christmas, Party People!!
{FUN FACT} DID YOU KNOW...
Research suggests that decorations on a home's exterior make other people think you're more sociable and perhaps more integrated with the community and with its social activities.


Love it! :)
ReplyDeleteI had SO MUCH FUN with you and Luke :) We will play and craft together more for sure. I love your ornament chandi! Turned out LOVELY!
ReplyDeleteThat looks super cute! I'm stopping by from Mine for the Making and following along. :)
ReplyDeleteThank you for the bloggy~ love, Amanda!!
DeleteIts beautiful! I have something similar pinned on Pinterest and haven't had a chance to make it. Good thing, too, since I wouldn't have come up with such a pretty way to attach the ornaments to the light fixture! Love the ribbons!
ReplyDeleteThank you, Michelle!! I think I probably have the same one pinned ;) Love your blog!
Delete*Michele
DeleteGRR I'm so embarrassed :-/